
How to Troubleshoot a PCB Circuit Board?
A printed circuit board (PCB) is a vital component of almost every electronic device, and it can cause various problems if it malfunctions. PCB troubleshooting is the process of finding and fixing the faults in a PCB, which can range from simple soldering errors to complex integrated circuit failures. In this article, we will introduce some common PCB troubleshooting techniques and tools that can help you diagnose and repair your PCB.
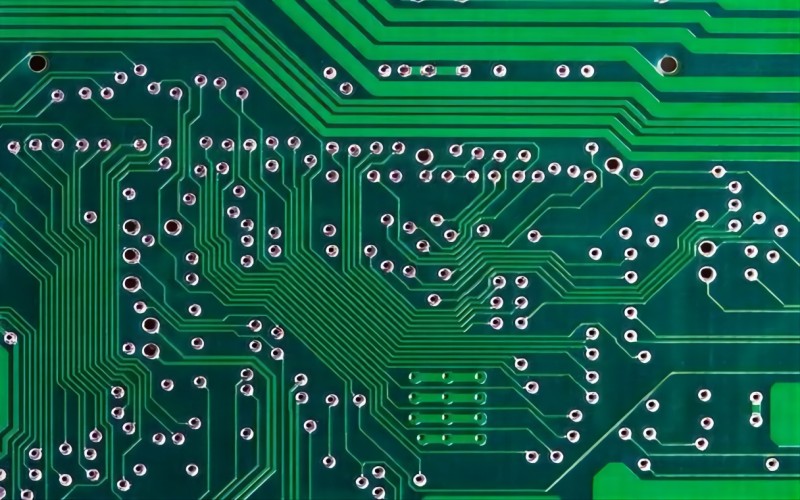
1.Visual Inspection
The first step in PCB troubleshooting is to visually inspect the board for any obvious signs of damage, such as burn marks, broken traces, missing components, or debris. A magnifying glass or a microscope can help you see the details more clearly. You should also check the solder joints for any cracks, cold joints, or bridges that can affect the electrical connections. If you find any visual defects, you should clean the board with isopropyl alcohol and a wipe, and then re-solder or replace the faulty components.
2.Physical Inspection
The next step is to inspect the board under power and feel for any hot spots that indicate overheating or short circuits. You should be careful not to touch the board with both hands at the same time, as this can cause an electric shock. You should also use a multimeter to measure the voltage and current at different points on the board and compare them with the expected values. If you find any abnormal readings, you should trace the source of the problem and fix it.
3.Component Testing
Another PCB troubleshooting technique is to test the individual components on the board, such as resistors, capacitors, diodes, transistors, switches, and batteries. You can use a multimeter to measure the resistance, capacitance, voltage, or current of each component and compare them with the specifications. You can also use an oscilloscope to observe the waveform and frequency of the signals. If you find any faulty components, you should replace them with new ones.
4.Integrated Circuit Testing
The final step in PCB troubleshooting is to test the integrated circuits (ICs) on the board, which are usually the most complex and sensitive parts. You can use an oscilloscope to probe the input and output pins of each IC and check the logic levels and timing. You can also use a logic analyzer to capture and analyze the digital signals. If you find any defective ICs, you should replace them with new ones.
Conclusion
PCB Circuit Board is a skill that requires patience, accuracy, and knowledge. By following the steps and techniques mentioned above, you can identify and fix the common PCB faults and restore the functionality of your electronic device. However, if you are not confident or experienced in PCB troubleshooting, you should seek professional help or use a PCB repair service.
Send PCB Files to Sales@ucreatepcba.com, We Will Quote You Very Soon!
Request PCB Manufacturing & Assemble Quote Now


